
Documenting Your Quilts Through Photography:
- As a former quilt guild Historian, I am an advocate for photographing your quilts and quiltmaking to document your quilting journey, inspiration, materials used, process, progress, quilt finishes, quilt giving and display opportunities. Read on for more tips and tricks on capturing great pictures of your quilting adventures!
Quilt Moments to Capture via Photos:
- Inspirational photo or pattern used
- Fabric pull (arrangement of fat quarters, charms, strips, yardage)
- Cut units ready for sewing/assembly
- Assembled units/blocks
- Auditioning block/top layouts
- Auditioning fabrics for sashing, borders and bindings
- Quilt top prior to quilting
- Quilting doodles/auditions
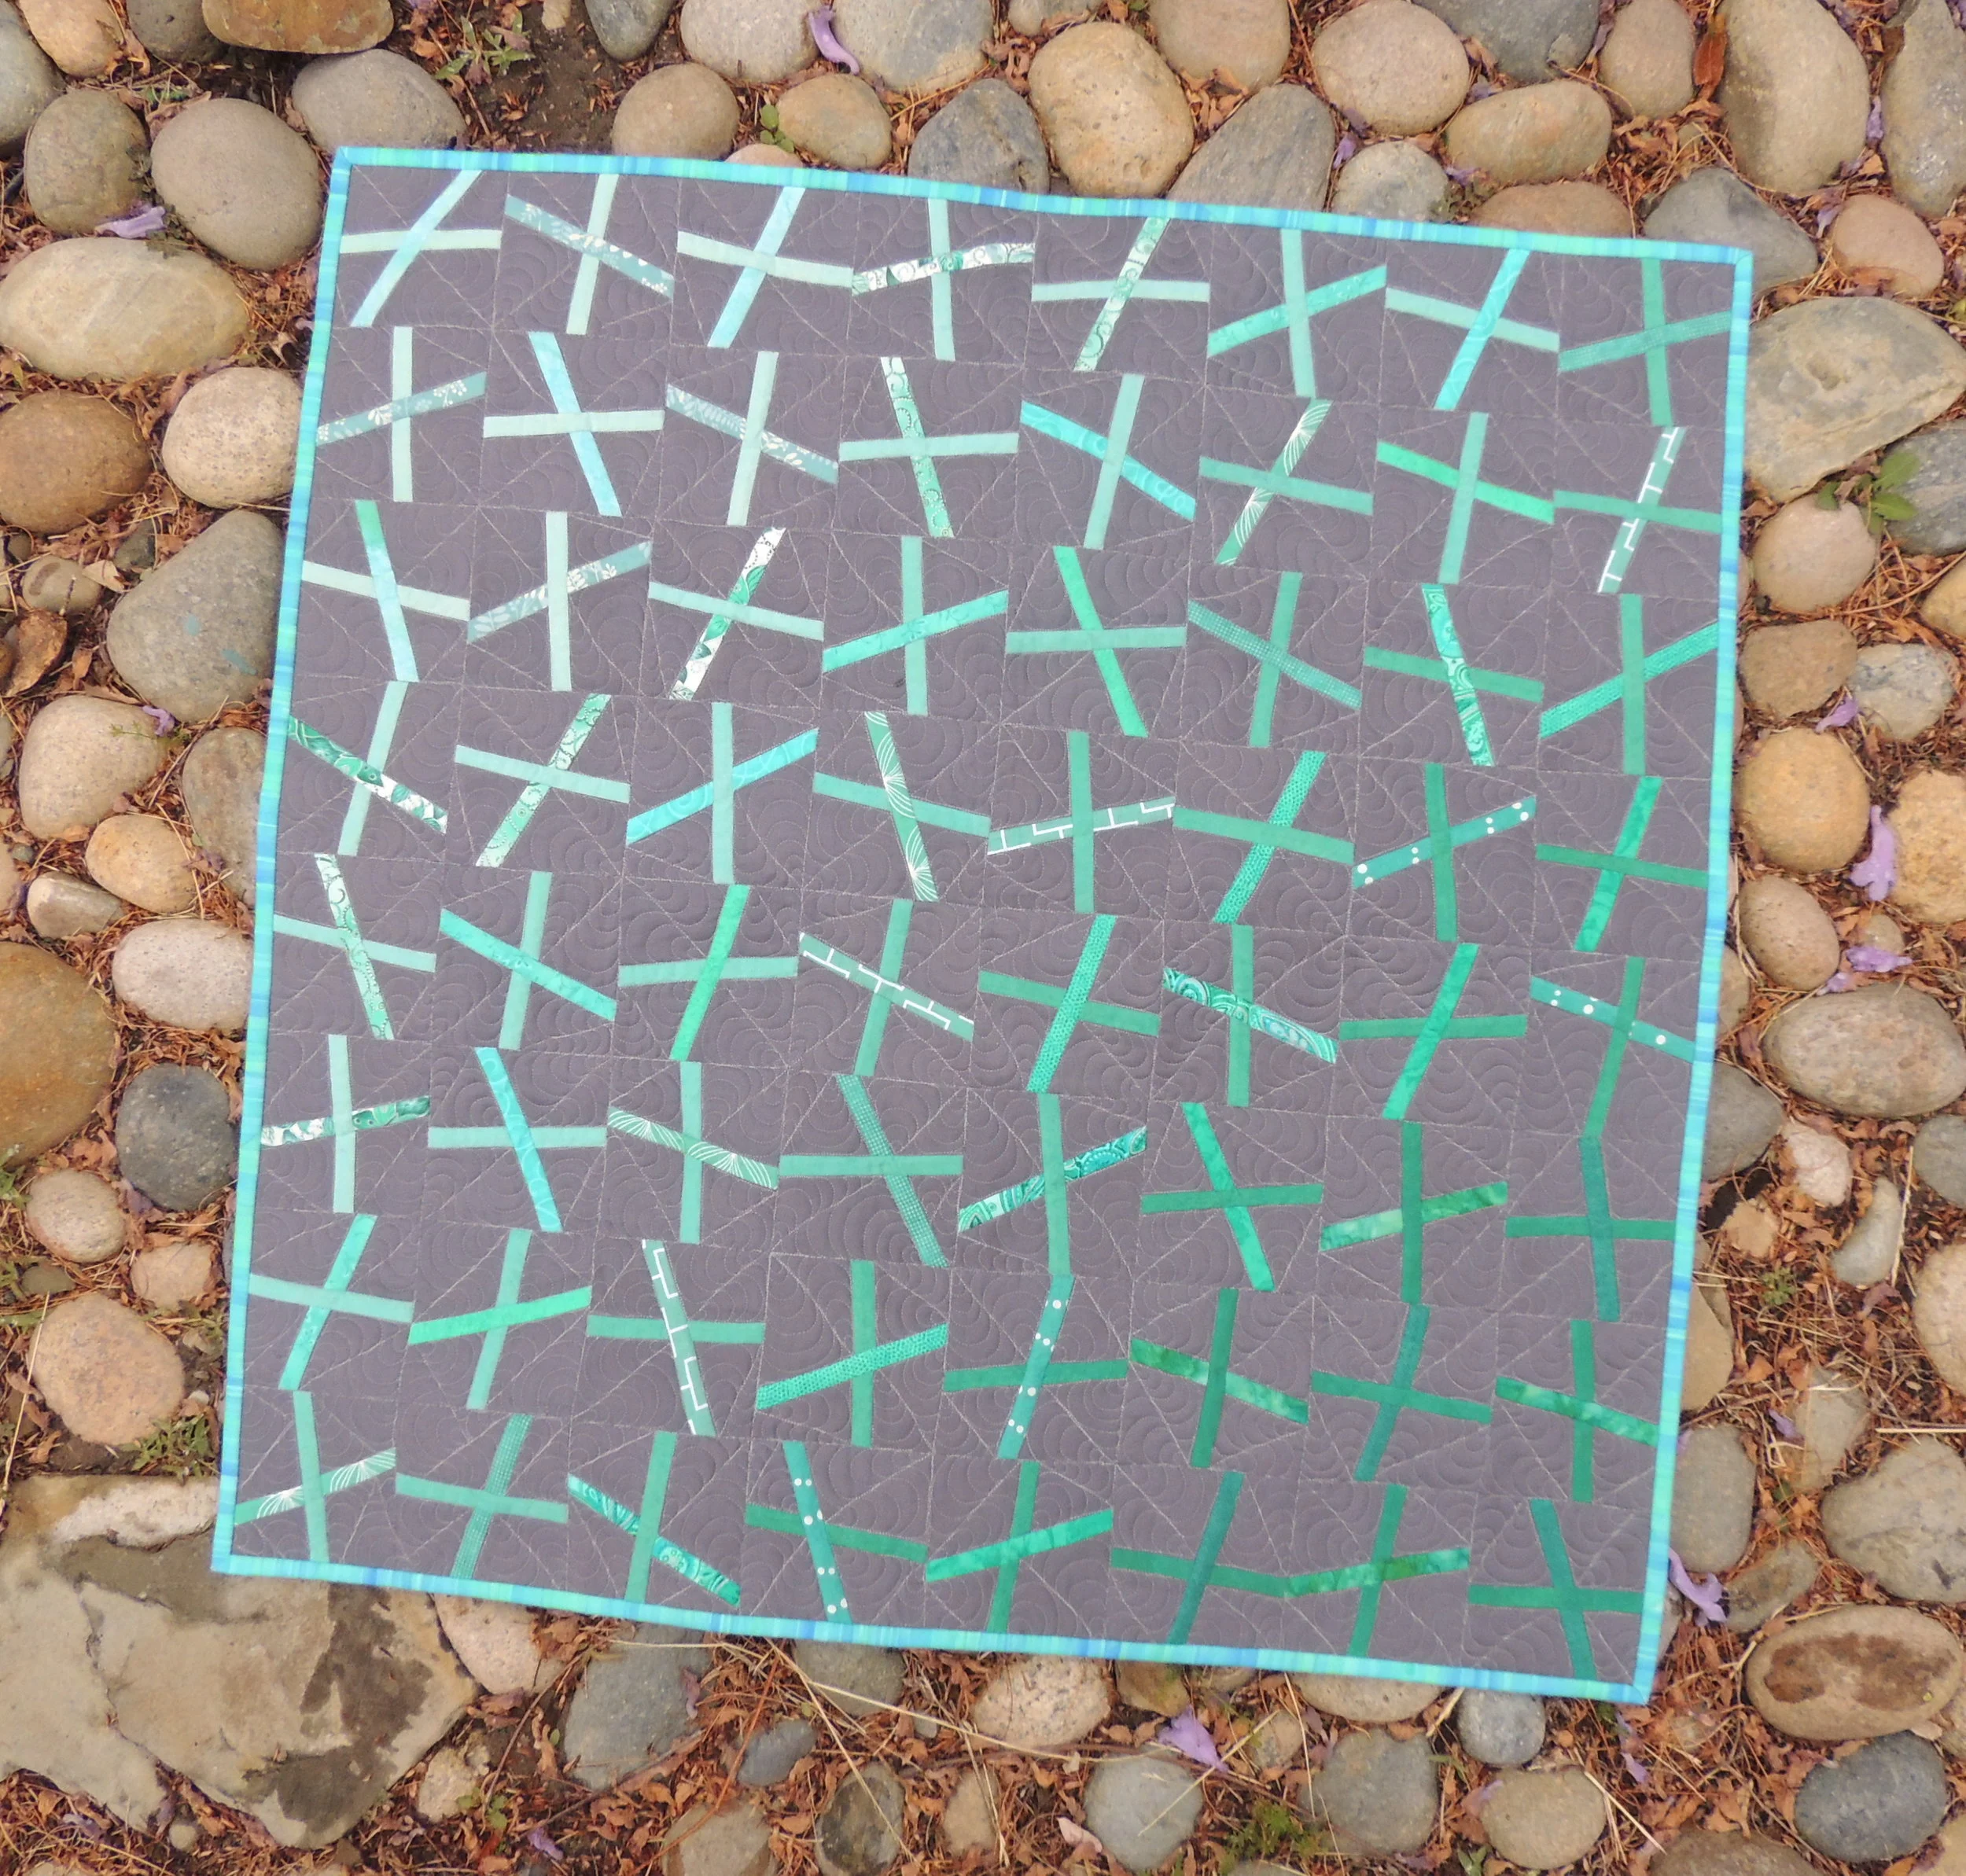
- Full/complete shot of entire quilt/project
- Detail shots: quilting, embellishments, binding, quilt back, label, threads used, etc
- Project with props (ie. quilted bag full of books), baby quilt with stuffed animal, models, etc
- Project in use by recipient (baby crawling on baby quilt, loved one wrapped in quilt)
- Quilts on display at quilt shows/exhibits/galleries (with and without artist/maker)


Tips and Tricks for Taking Great Pictures
- Learn to use what equipment you already own (most of my pictures are taken with my Pixel smartphone).
- Position yourself directly in front of/above your project so you can get square shots (vs. trapezoid/keystone effect).
- Use the grid option on your camera to help you align straight edges.
- Photograph in good light. Rather than invest in expensive lighting fixtures, photograph outdoors using natural light, especially during the golden hour or on an overcast day, which offers optimal lighting conditions. Try to avoid direct bright light which makes it difficult to photograph as it can cast shadows onto your quilt.
- When in doubt, take lots of pictures!
- Experiment with different angles, layouts, lighting, times and locations to see what works best for you.
- Learn editing software to crop, straighten, add contrast, color correct, skew/stretch to be square and create mosaics.
- Practice, practice, practice!
- Have fun!

Photo Shoot Pack List:
- Camera that is fully charged with available storage space
- Prepared quilt/project (pressed and clean)
- Tripod
- Lint brush (to remove any stray threads, pet hair and lint)
- Towel/Rag to clean any dirty surfaces that may come in contact with your quilt/project
- Supplies to hang your quilt/project: easy to use clamps, pant/skirt hangers with pinch clips, IKEA clips, magnets, Scotch brand concrete/brick/grout tape, washi tape
- Ladder/step stool
- Neutral backdrop: white or grey flat sheet, foam core board or cutting mat
- Photo props: spools of thread, scissors, fabric, clips, pins, etc
- Willing assistant (bonus points for tall assistants to help hold and wrangle large quilts)
Fun Photo Shoot Locations (be respectful of private property and/or ordinances if photographing on public property):
- Backyard concrete patio (flat, neutral grey background, convenient)
- Parks
- Playgrounds/Jungle Gyms
- Public Art Installations
- Fences/Trellises
- Buildings with interesting Architecture
- Nature: beaches, forests, gardens, nurseries
- Quilt Show where quilt is hung on display


Round Up of Online Quilt Photography Tips, Tricks and Tutorials:
- How to Photography Quilts by Sassafras Lane
- Taking Photos blog post by Sue Bleiweiss
- Shoot That Quilt: Digital Photography for Textile Artists by Holly Knott
- Golden Hour Calculator to help with scheduling photoshoots with optimal natural light
- Photoshop Elements Essential online classes with Pixeladies
- Quilt Photography Tool Tutorial by Quilting Jetgirl
- How to Resize an Image in Microsoft Paint video tutorial by PC Shastra